WHAT YOU’LL NEED
-
Saucepan
-
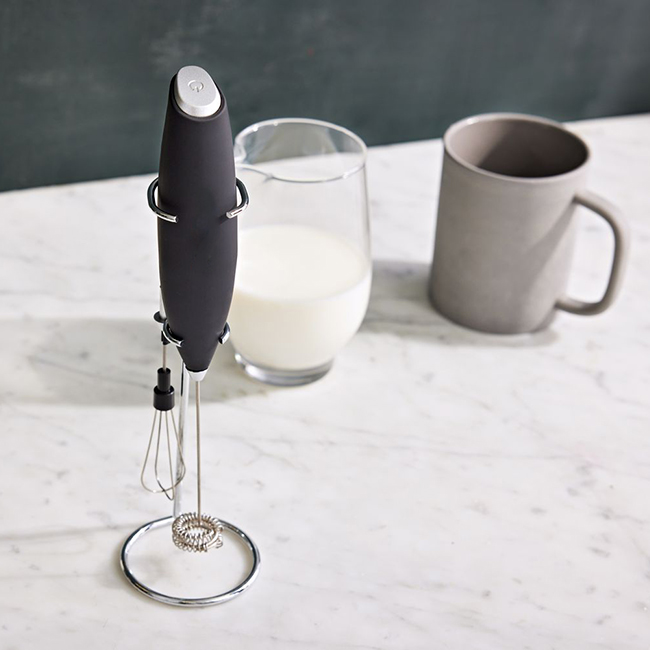
Handheld frother or whisk
-
Milk (8 fl oz, 236 ml)
-
LARGE mug or pourable glassware
Easy Instructions for Creating Frothy Milk or Egg Nog
STEP 1: Heat the milk to 140°F
Be careful not to let it boil. A stovetop or a microwave is all you need to effectively heat your milk.
STEP 2: Pour the milk into the LARGE mug.
The extra space is to leave room for the liquid to double in volume.
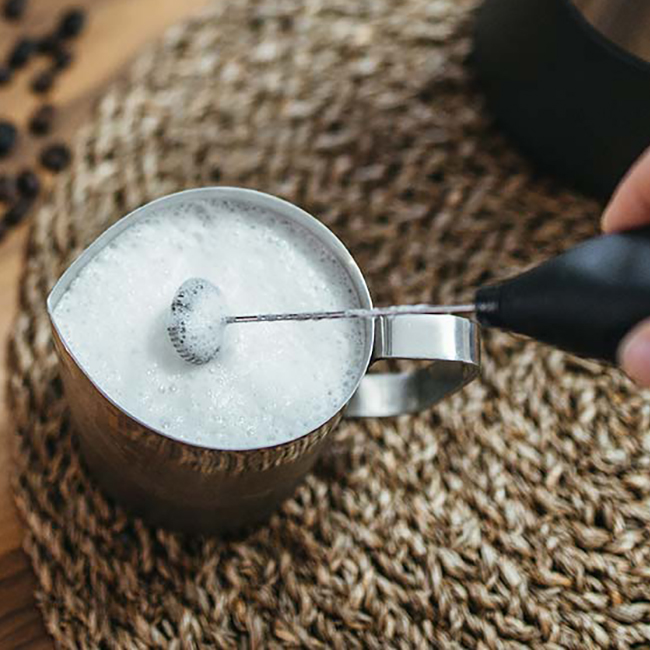
STEP 3: Place the whisk into the milk
Start whisking close to the mug’s bottom.
STEP 4: Whisk the milk (or egg nog)
Whisk in gentle circles for 15–20 seconds. When the milk starts to thicken, slowly raise your whisk to just below the froth.
STEP 5: Switch OFF the frother and carefully pull it out of the milk
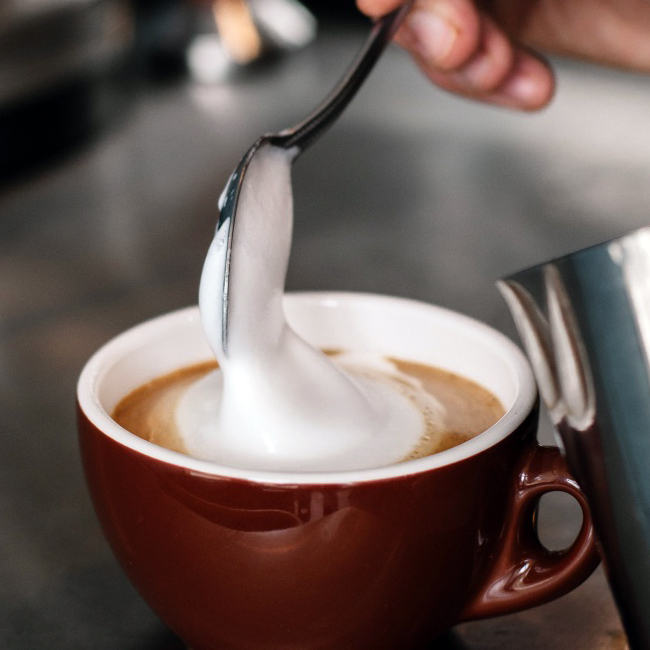
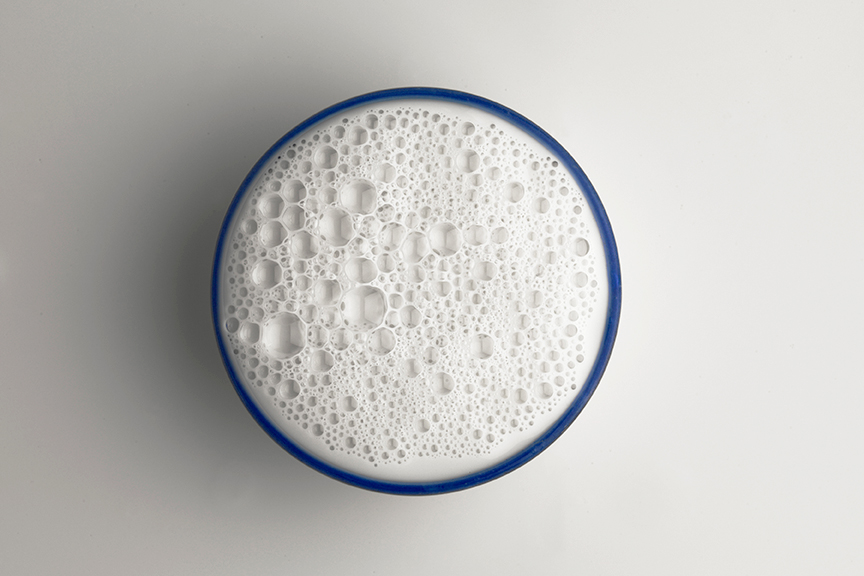
The milk is done frothing once it has doubled in volume.
The Art of Milk Frothing: Skim Milk vs. Full Fat Milk.
Frothing milk is an essential skill for coffee enthusiasts looking to craft the perfect cappuccino or latte at home. But did you know that the type of milk you use plays a huge role in the quality and texture of your foam? Here’s an explainer on how skim milk and full fat milk behave differently when frothed—and which to choose depending on your preference.
Skim Milk: The Easiest to Froth
Skim milk is the most forgiving type of dairy milk when it comes to frothing. Why? Its lower fat content makes it easier to aerate, allowing air bubbles to form quickly and consistently. This results in a light, airy foam that’s ideal for beginners or anyone who struggles to get their frothing technique just right.
Pros of Frothing Skim Milk:
Ease of Use: Less technique is required to create foam.
Consistency: Produces a stable and long-lasting foam.
Health Factor: Lower in calories and fat, making it a good option for those watching their intake.
Cons of Frothing Skim Milk:
Texture: The foam is lighter and less creamy than that of full fat milk.
Flavor: Missing the richness and depth of higher-fat options.
Full Fat Milk: The Creamiest Option
If you’re after the richest and creamiest froth, full fat milk is the gold standard. While it’s slightly more challenging to froth due to the added fat content, the reward is a velvety, indulgent foam that elevates your coffee to barista-level quality.
Pros of Frothing Full Fat Milk:
Creaminess: Produces a rich, dense foam with a luxurious mouthfeel.
Flavor: Enhances the overall taste of your coffee with its natural richness.
Professional Look: Ideal for creating latte art due to its smooth and glossy finish.
Cons of Frothing Full Fat Milk:
Technique Required: More challenging to aerate properly without breaking the foam.
Less Stable Foam: The higher fat content can lead to quicker collapse of the foam if not handled correctly.
Higher Calories: Contains more fat and calories, which may be a consideration for some.
Which Milk Should You Choose?
For Beginners or Calorie-Conscious Drinkers: Go for skim milk—it’s easy to froth and still delivers a decent foam for your morning latte or cappuccino.
For Indulgence and Professional Quality: Opt for full fat milk to achieve that creamy, café-quality froth that makes every sip a treat.
Pro Tips for Perfect Froth
Temperature Matters: Always heat your milk to around 150°F (65°C) for the best frothing results. Overheating can scald the milk and ruin the texture.
Practice Technique: The angle and depth of your steam wand (or frothing tool) are crucial to achieving the desired foam consistency.
Experiment: Don’t be afraid to try both types of milk to discover your personal favorite!
By understanding the differences between skim and full fat milk, you can make an informed choice that suits your taste and frothing skills. Whether you’re aiming for light and airy or rich and creamy, the perfect milk foam is within reach.
